MongoDB
Installing to Windows
If you want to use MongoDB on Windows, you can install it with these steps:
- Navigate to http://www.mongodb.org/downloads
- Choose option "On-premises MongoDB locally"
- Choose "MongoDB Community Server"
- Choose platform Windows
- Download
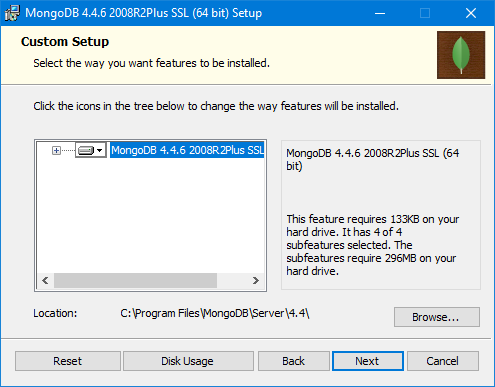
- From below window I chose "Custom"

- And then in below window, I clicked "Browse" and I changed the path to c:/mongo
- Then in below window I unchecked the option "Install MongoDB as a Service"

- Then in below window I checked the option "Install MongoDB Compass"

Creating the data directory
Before you can start the server, you have to create a folder for the data. By default Mongo is expecting that the folder is c:/data/db. You can create the folder like this:
- Open the command prompt
- Execute command
md \data\db
Starting the Server
After installing and making the data-folder, you can start the MongoServer
- Open the command prompt and navigate to the directory (ex. c:\mongo)
- Execute command
bin\mongodto start the server
Connecting to Mongo-Server
When the server is running, you can connect to it. The command-line client is also in the bin-folder, you can start to use it like this:
- Open the command prompt and navigate to the directory (ex. c:\mongo)
- Execute command
bin\mongoto start the client